Developing and Running Customized Analytical Algorithms for GraphScope
 We provide a template repository for graph analysis applications, where users can customize graph analysis algorithms by replacing several C++ functions with their own logic, and run them on GraphScope.
As a sophisticated model, graphs can naturally express a large number of real-life datasets, and tons of graph analytics algorithms have been proposed for different purposes. Typical graph analytics algorithms include Pagerank、K-core which have demonstrated strong capabilities in node importance analysis scenarios. The GraphScope graph analysis engine inherits the open source version of the GRAPE system and includes various graph analysis algorithms, providing a one-stop graph analysis solution. However, users often need to customize algorithms based on their own bussiness. Therefore, to facilitate the development of custom graph analysis algorithms, we provide a C++ template library, and this article will introduce the usage of this template library.
Step1. Install GraphScope
First, we need to install GraphScope in the local environment with the following command:
pip3 install graphscope
Step2. Develop Algorithms Using Template Library
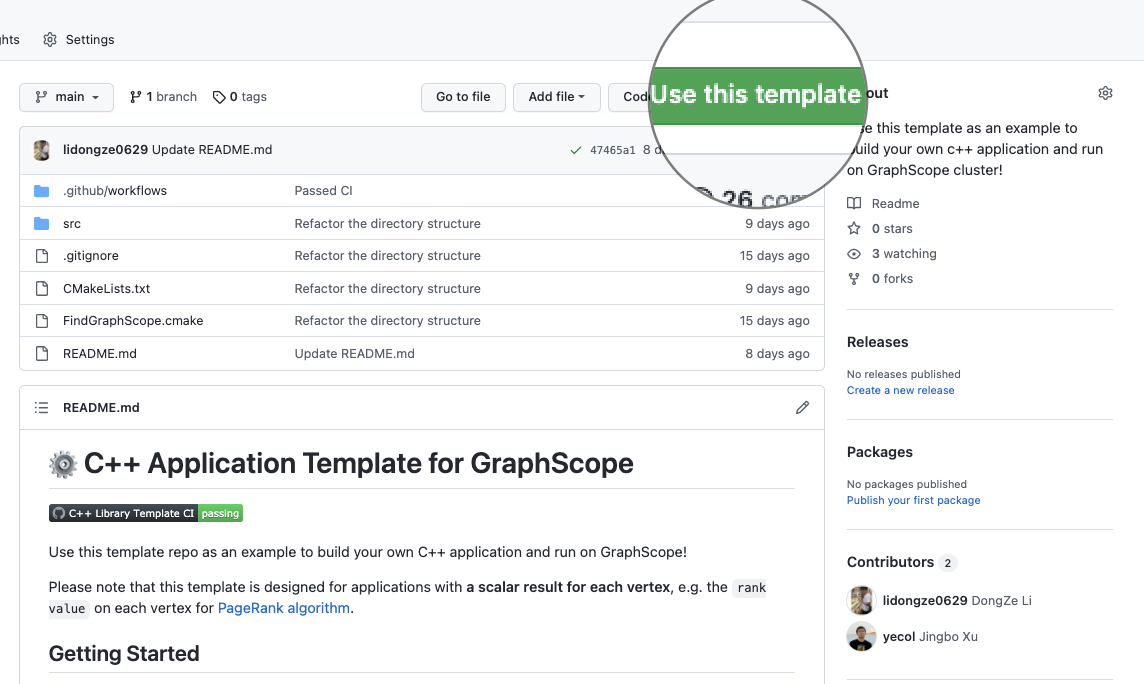
Open the address of the template library in your browser, click on the “Use this template” button on the right side of the repository to create your own code repository, and clone the repository to your local machine using the following command:
# Make sure to replace the <username> and <repo-name> to the right values.
git clone https://github.com/<username>/<repo-name>.git
cd <repo-name>
Next, we will implement custom algorithm logic by modifying the files in the src directory, including:
- my_app.h: This file is used to implement the main algorithm logic, namely the PEval and IncEval functions
- my_app_context.h: This file is used to store and define the runtime results and data structures used by the algorithm
Define the Data Structures
To simplify the algorithm logic and highlight the algorithm development process, in this case, our algorithm will be responsible for counting the degrees of neighboring nodes for each node in the graph. In this step, we need to: 1) Define the data structure for algorithm runtime in my_app_context.h file; 2) Initialize these data structures in the Init function.
The data structures are as follows:
| Variable | Type | Comment |
|---|---|---|
| result | vertex_array_t |
result for each node |
Finally, the implementation of my_app_context.h as follows:
#ifndef MY_APP_CONTEXT_H_
#define MY_APP_CONTEXT_H_

#include "grape/grape.h"

namespace gs {

/**
 * @brief Context for "MyApp" Application.
 *
 * 'Context' class used to record the intermediate data of each iteration.
 *
 * @tparam FRAG_T
 */
template <typename FRAG_T>
class MyAppContext : public grape::VertexDataContext<FRAG_T, uint64_t> {
  using oid_t = typename FRAG_T::oid_t;
  using vid_t = typename FRAG_T::vid_t;
  using vertex_t = typename FRAG_T::vertex_t;

 public:
  explicit MyAppContext(const FRAG_T& fragment)
      : grape::VertexDataContext<FRAG_T, uint64_t>(fragment, true),
        result(this->data()) {}

  /**
   * @param param1: algorithm specific parameter, such as
   *                "source vertex" for SSSP (single source shortest path)
   *                "delta, max_round" for Pagerank
   */
  void Init(grape::ParallelMessageManager& messages, int param1) {
    // record current superstep
    this->step = 0;
    this->param1 = param1;
    // init results
    result.SetValue(0);
  }

  // current superstep
  int step = 0;
  // algorithm specific parameter
  int param1 = 0;

  // result for each vertex, with 'uint64_t' type
  typename FRAG_T::template vertex_array_t<uint64_t>& result;
};
}  // namespace gs

#endif  // MY_APP_CONTEXT_H_
Implement Algorithm
After defining the data structure, we can implement the corresponding algorithm logic in my_app.h, specifically the PEval and IncEval functions. The definitions of the these functions can be found in the introduction to the PIE programming model. In this example, We calculate the sum of the degrees of the neighboring nodes for each node in IncEval phase and do nothing but force continue in PEval.
Finally, the implementation of my_app.h as follows:
#ifndef MY_APP_H
#define MY_APP_H

#include "my_app_context.h"

namespace gs {

/**
 * @brief Compute the degree for each vertex.
 *
 * @tparam FRAG_T
 */
template <typename FRAG_T>
class MyApp : public grape::ParallelAppBase<FRAG_T, MyAppContext<FRAG_T>>,
              public grape::ParallelEngine,
              public grape::Communicator {
 public:
  INSTALL_PARALLEL_WORKER(MyApp<FRAG_T>, MyAppContext<FRAG_T>, FRAG_T)
  static constexpr grape::MessageStrategy message_strategy =
      grape::MessageStrategy::kSyncOnOuterVertex;
  static constexpr grape::LoadStrategy load_strategy =
      grape::LoadStrategy::kBothOutIn;
  using vertex_t = typename fragment_t::vertex_t;

  /**
   * @brief Implement your partial evaluation here.
   *
   * @param fragment
   * @param context
   * @param messages
   */
  void PEval(const fragment_t& fragment, context_t& context,
             message_manager_t& messages) {
    messages.InitChannels(thread_num());
    // Implement your partial evaluation here.
    // We put all compute logic in IncEval phase, thus do nothing but force continue.
    messages.ForceContinue();
  }

  void IncEval(const fragment_t& fragment, context_t& context,
               message_manager_t& messages) {
    // superstep
    ++context.step;

    // Process received messages sent by other fragment here.
    {
      messages.ParallelProcess<fragment_t, double>(
          thread_num(), fragment,
          [&context](int tid, vertex_t u, const double& msg) {
            // Implement your logic here.
          });
    }

    // Compute the degree for each vertex, set the result in context
    auto inner_vertices = fragment.InnerVertices();
    ForEach(inner_vertices.begin(), inner_vertices.end(),
            [&context, &fragment](int tid, vertex_t u) {
              context.result[u] =
                static_cast<uint64_t>(
                  fragment.GetOutgoingAdjList(u).Size() +
                  fragment.GetIncomingAdjList(u).Size()
                );
            });
  }
};
};  // namespace gs

#endif  // MY_APP_H
Step3. Build and Test Your Algorithm Locally
Use the following command to compile and build the algorithm:
make build & cd build
cmake .. && make    # compile
make package        # Package the algorithm as a resource (.gar file) that can be run on GraphScope
make test           # unit test
Step4. Run on GraphScope Cluster with Python Interface
After development is completed, we can run the algorithm’s resource (gar file) on the GraphScope cluster. The steps are as follows:
>>> import graphscope
>>> graphscope.set_option(show_log=True)  # enable logging

>>> from graphscope.framework.app import load_app
>>> from graphscope.dataset import load_p2p_network

>>> # create session locally
>>> # you can create session on kubernetes by replacing "hosts" with "k8s"
>>> sess = graphscope.session(cluster_type="hosts")
>>> # load property graph and project to simple graph to run the algorithm
>>> simple_graph = load_p2p_network(sess)._project_to_simple()

>>> # load your algorithm's resource
>>> my_app = load_app('<path_to_your_gar_resource>')
>>> # run your algorithm
>>> result = my_app(simple_graph)
>>> # output numpy result
>>> print(result.to_numpy("r"))
Conclusion
This article provides a detailed guide on how to develop a graph analysis algorithm that can be run on the GraphScope cluster based on the C++ template library. We will also share more algorithm examples based on this template library in real-world scenarios in the future, stay tuned!